PhotoSync, Photos and iCloud
I’ve been a fan of PhotoSync for a while now - I purchased the iOS version in May 2018, so I’ve been using it for 2 years. I’ve also purchased the Android version and it’s one of the key apps I’ve used regularly.
Prior to finding it, I’d been using Dropbox to save a copy of my photos off my phone. This worked well, and the only reason I changed to PhotoSync was that I could choose different locations to send data (i.e. my NAS). However, I then changed it to upload to Dropbox anyhow - though PhotoSync offers a number of additional storage locations.
However, for the past six months or so, I’ve been paying the monthly fee for iCloud storage - it backs up my photos from my Mac and backs up the photos on my wife’s iPhone and iPad. I still had PhotoSync installed and it uploaded my images to Dropbox for Hazel to process - a HEIC copy that I moved in to the Photos app which would get saved to iCloud, and then a JPG copy that gets copied to my photos folder in my Pictures folder.
I’ve debated on using iCloud on my phone and iPad as well, but I’d run in to issues - due to the “Optimise iPhone Storage” setting and PhotoSync. With this turned on, PhotoSync uploads the thumbnails from the gallery, rather than the full size photo (as it doesn’t download the full size photo). As PhotoSync is supposed to be uploading these photos for backup, this isn’t ideal!
This had continued for a few months, until MacSparky released his new Photos field guide. I have been working through the course and it occurred to me that the solution had been staring me in the face all the time. I can remove PhotoSync and can use the inbuilt iCloud sync and still be able to save my files separately - perhaps with a bit more effort than using Hazel, but it’s a workable solution. At least if the files are in iCloud, they’re backed up off my iPhone.
PhotoSync
PhotoSync used to be the glue that held all of this together. It allowed me to upload my images in both the original (HEIC) format and in JPG. To make life simple (as I might have multiple phones uploading to the same folder, which includes Android which doesn’t shoot in HEIC), I would upload photos in HEIC only.
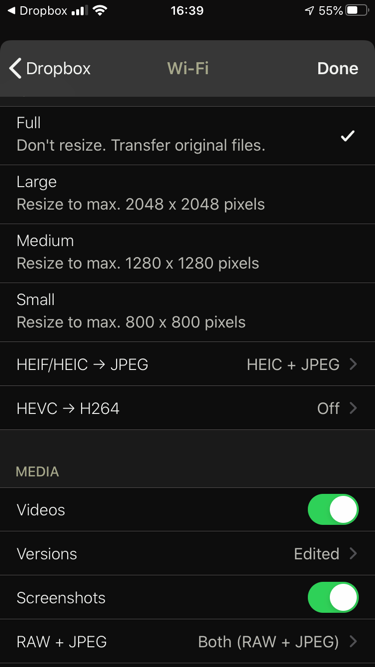
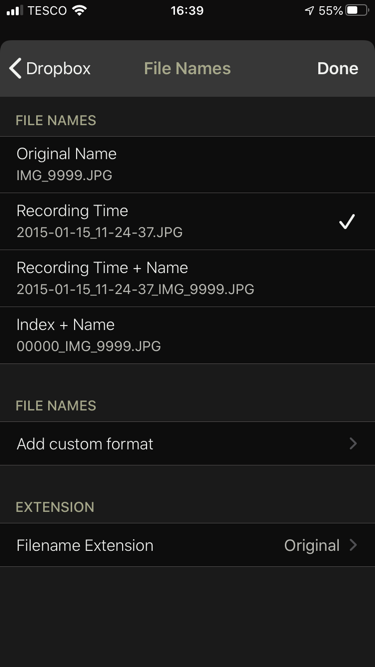
I could also have Photosync set the names of the files, saving me an additional step on my Mac.
One this was done, Dropbox would work its magic and then Hazel would take over.
Hazel
Hazel would then look at my Dropbox camera upload folder and run the following:
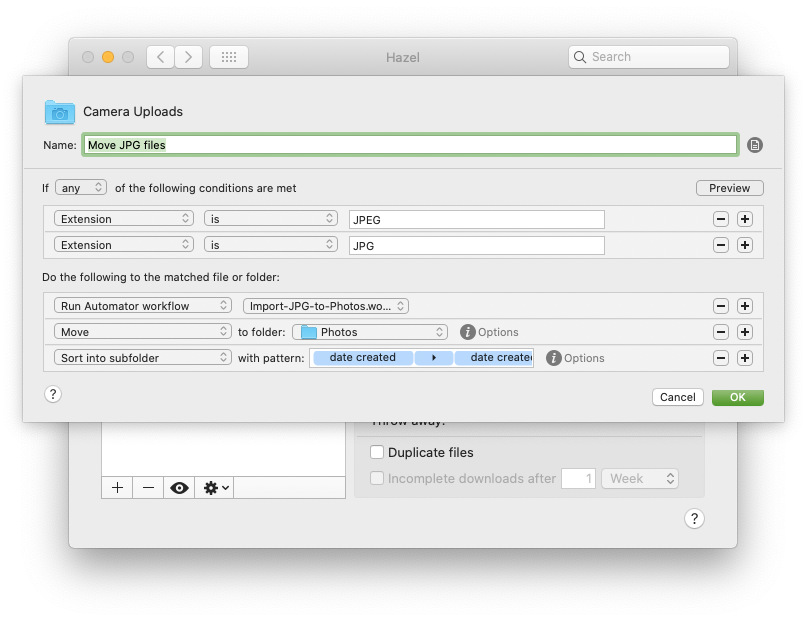
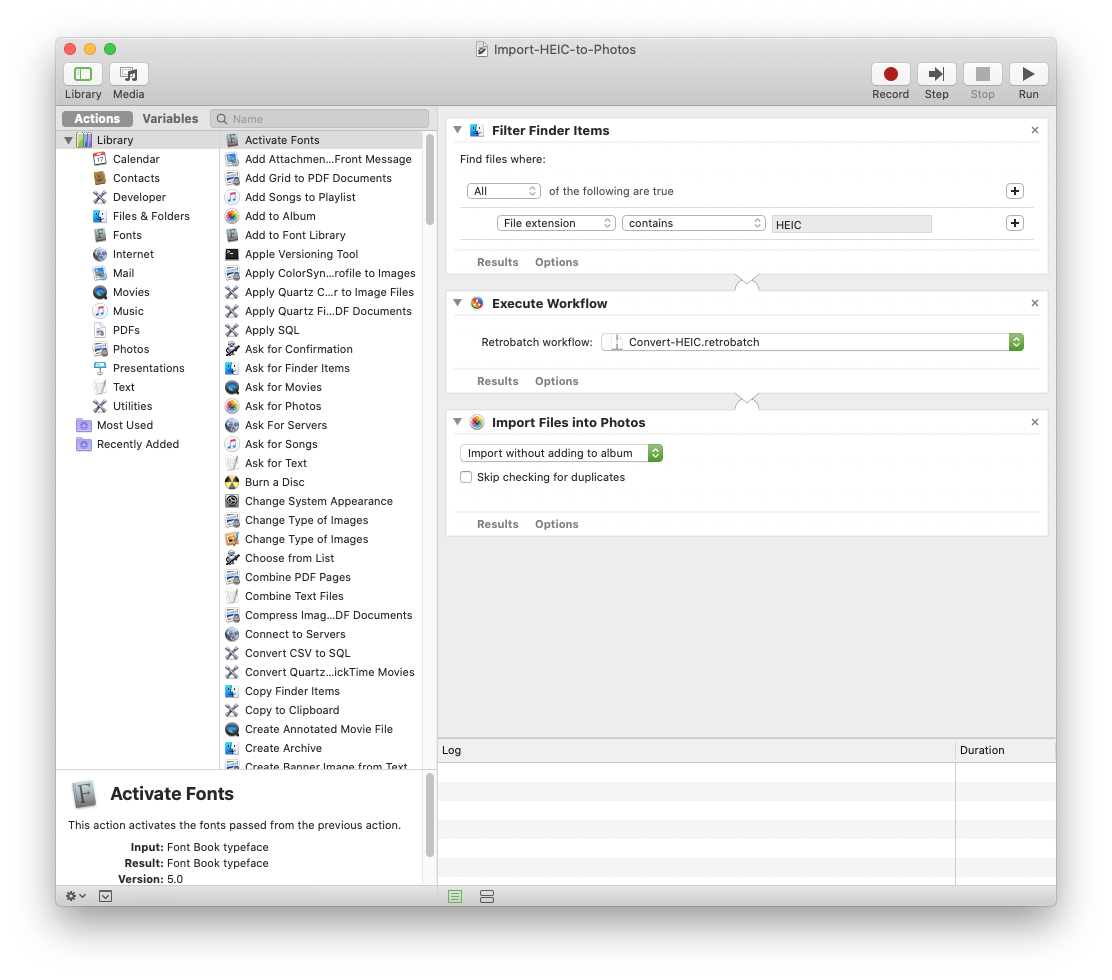
This rule runs an Automator workflow, as shown below.
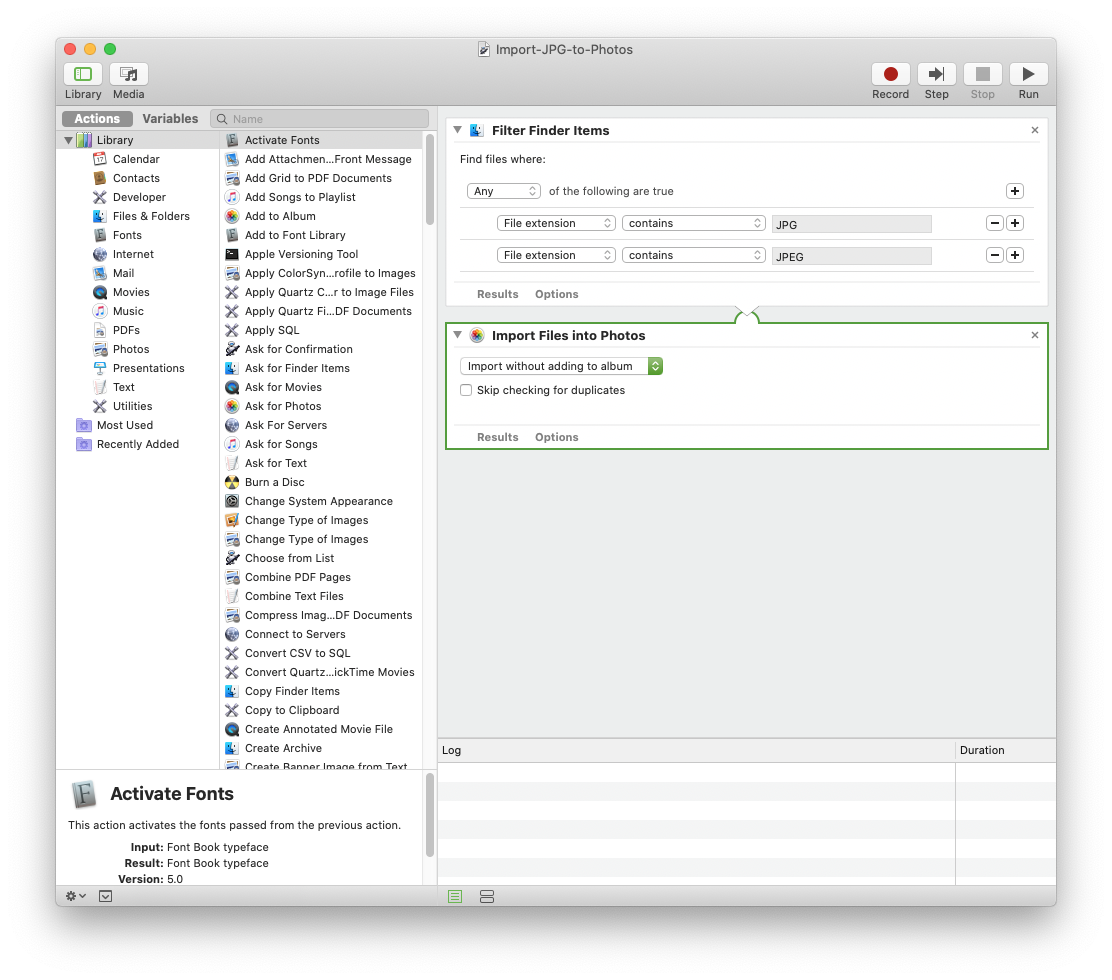
This essentially imports the images in to Photos. Whilst Hazel has this action, I found that it more often than not wouldn’t work, whereas I haven’t had any issues whatsoever with the Automator script doing the hard work.
Once it’s imported in to Photos, I then have the Hazel rule file my photos into a separate folder.
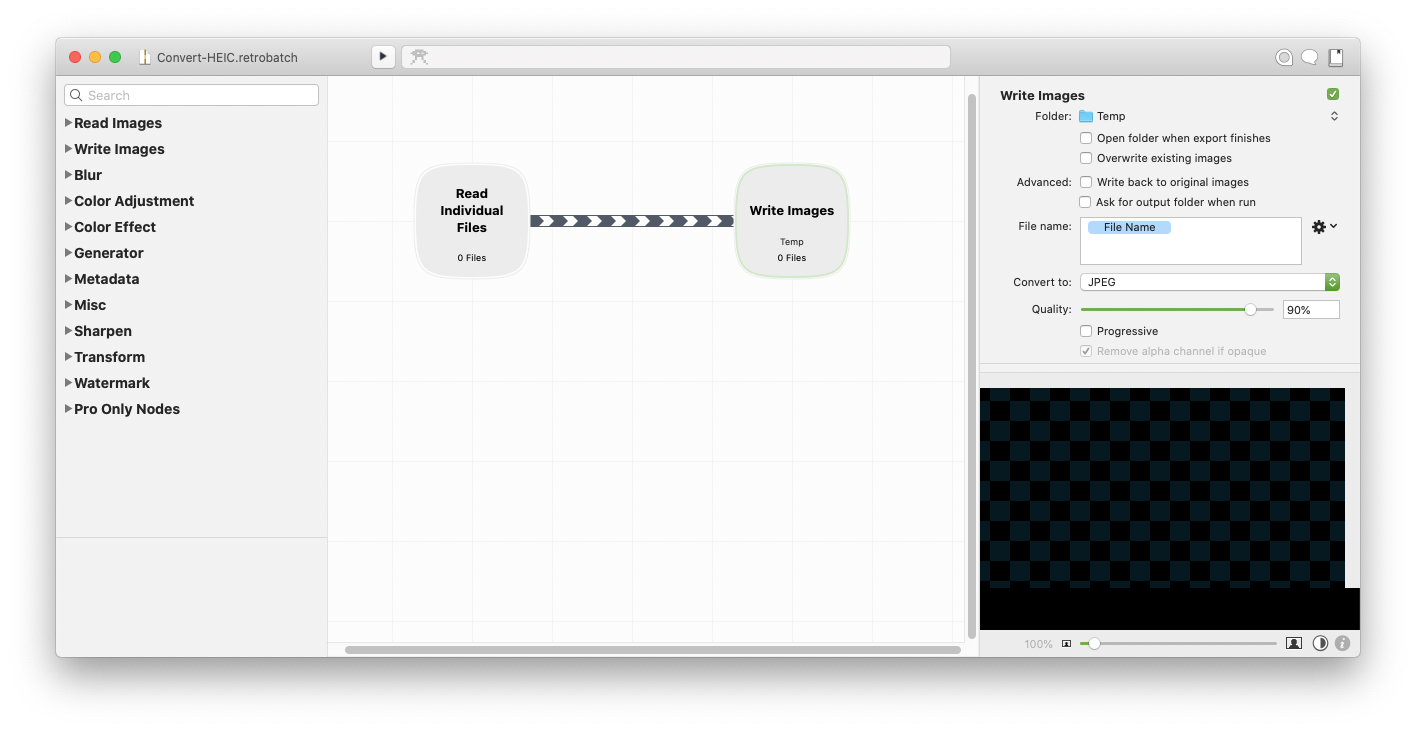
If the file was a HEIC file, then the file would be imported in to Photos, then converted to JPG and filed, again using Automator and in this instance, Retrobatch. I believe Automator would convert the HEIC, but Retrobatch offers some additional features, such as being able to control the JPG quality of the output of the conversion.
The Retrobatch script is a simple convert script - open and save within the new format. This is saved to a temporary folder, where Hazel then files it, as per the JPG instructions above - with the exception of the Photos import, as I’ve imported the HEIC file.
Issues
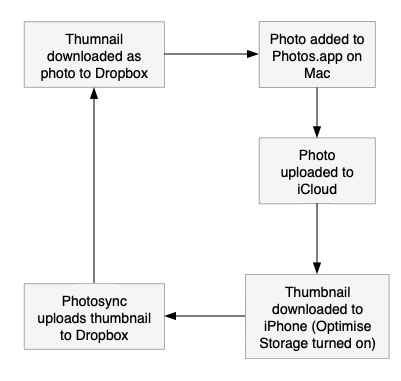
This whole workflow served me relatively well. It worked, but it prevented me from using iCloud Photos on my devices, as the iPhone would download the thumbnails, and then the thumbnails get uploaded via Photosync and the whole process runs through a loop - continuously if you aren’t careful, thanks to Photosync’s upload in background!
Not being able to use iCloud Photos was a pain, but it was the Photos field guide that managed to get me to solve the issue!
Photos
It all comes down to the Photos smart albums and export.
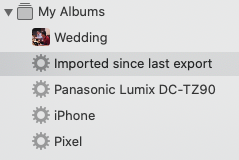
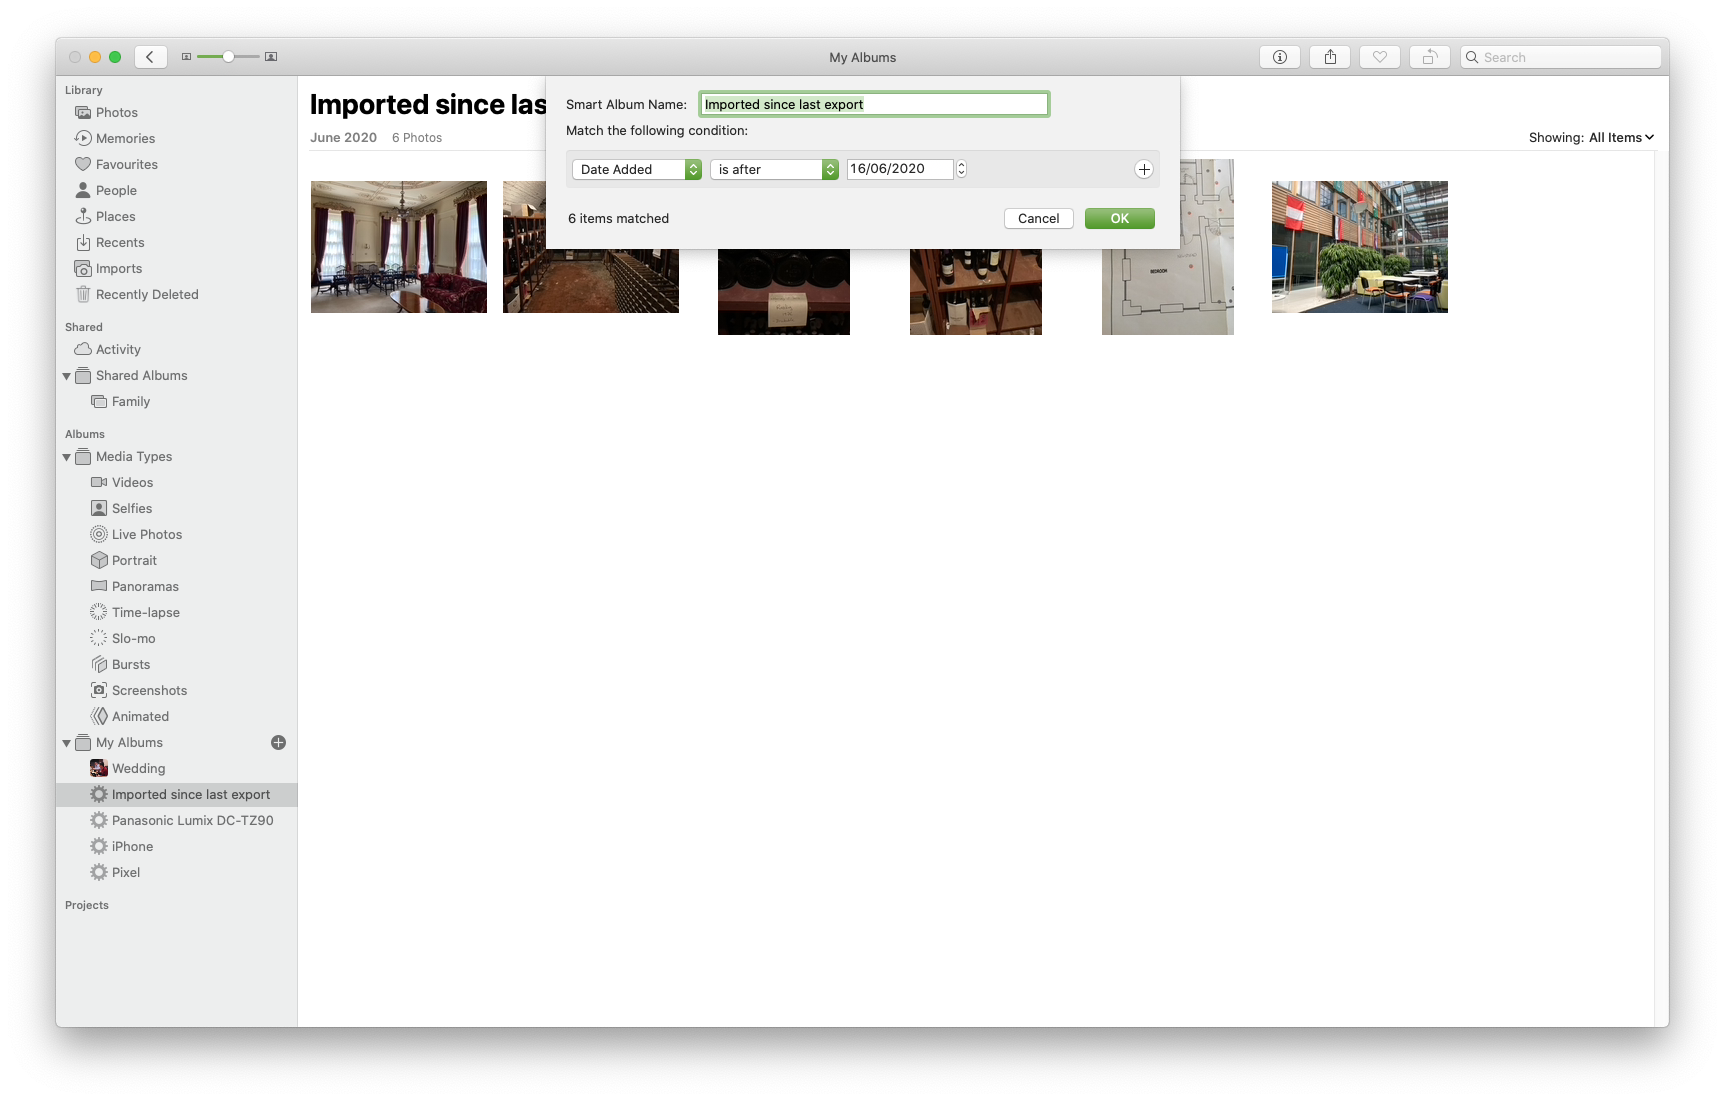
Smart albums allow you to enter criteria and then Photos will search through everything within your library and return only those results. I have a few different ones setup - mainly based around the camera that took the photo. However, I can also sort by last import.
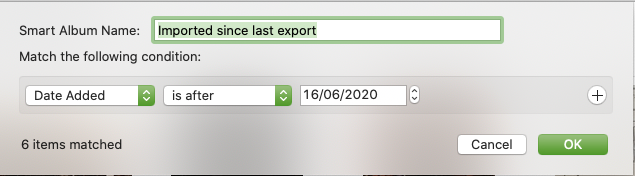
By entering a date, Photos will show me the images that have been imported since this date.
As my Mac mini is set to download the full size file and my whole photo library, it downloads the original file in its full size and original HEIC format.
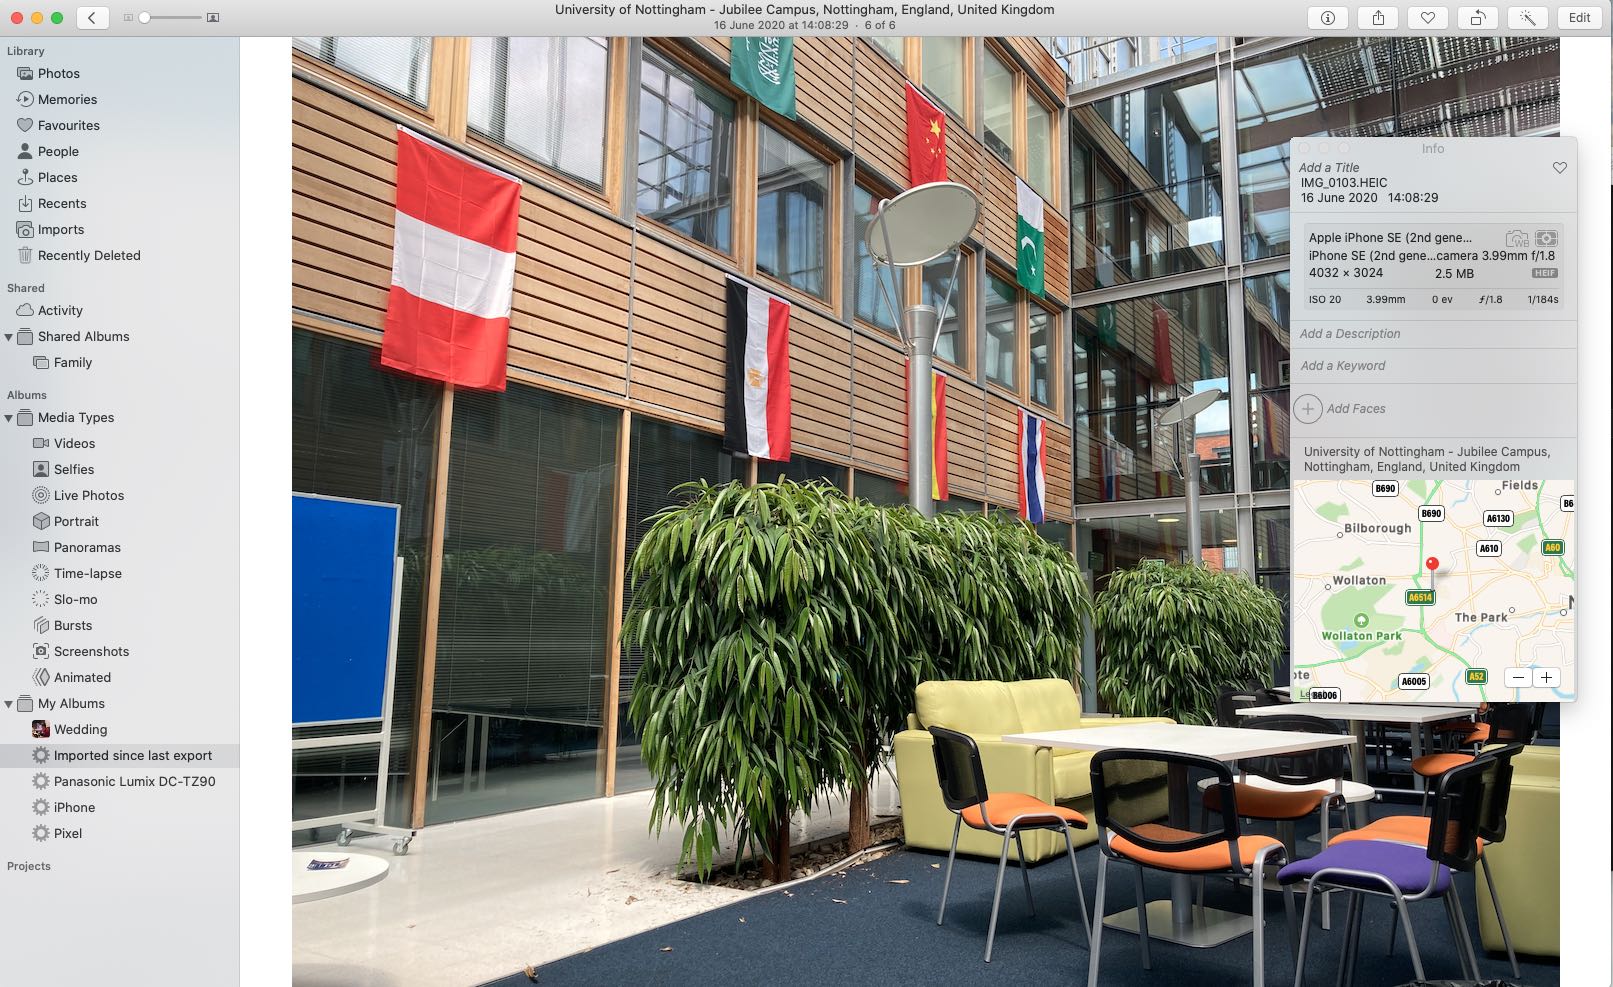
Therefore, this file is then in the cloud, should my phone or Mac go missing or get broken. It is also backed up using Time Machine, so at this point, the image is relatively safe.
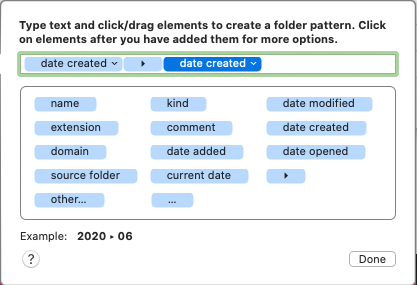
Every so often, I can now come back to Photos and then export the information out to my organised date/time folder in my photos folder. This is done by simply using the export function from Photos, which gives me the following options.
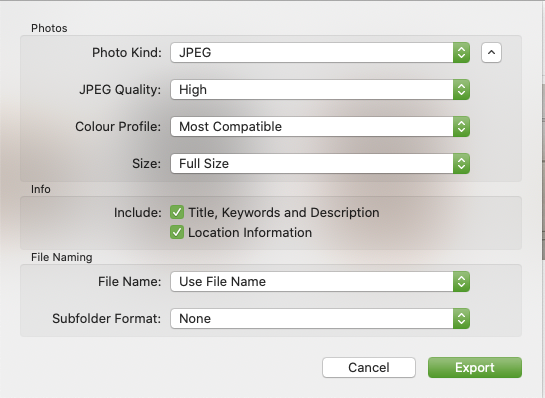
These are then saved to a folder, where Hazel monitors - this time, the script is slightly different - when they’re exported, Photos will keep the original name. I have Hazel rename them to the date taken.
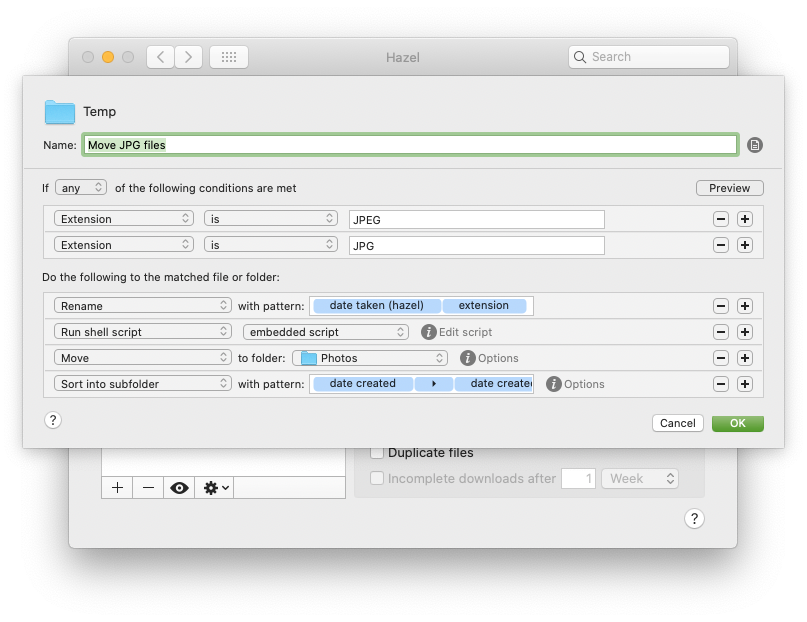
In addition, as the files will now be modified, I use a third party tool, Exiftool, to change the modified date back to the date that the photo was created. This isn’t a requirement, but makes the folder look a bit neater. Perhaps it’s a slight OCD streak. This is done using the embedded shell script within Hazel:
exiftool "-FileName>FileModifyDate" -d "%Y:%m:%d %H:%M:%S" -overwriteoriginalinplace "$1"
It then files the images in my photos folder for safe keeping, in a JPG format which I can access and use whenever I’m not on a Mac or iPad1.
Manual Process
So the new process adds a few more manual steps - I have to export the files from my smart album, and then when I do, I have to change the date of the album that Photos is searching for. However, the rest of the process runs automatically.
I find that this isn’t much different to the previous solution, as I often found that I would have to open Photosync to start the whole process off, so now its silently backing up my photos to start with, and I’m only exporting to the JPG format that is manual - it should mean I’m less likely to lose any, as I’m not waiting for a backup and it means I can take advantage of the iCloud Photo Library!
-
Windows support of HEIC is flakey still, depending on what third party program you install and sometimes I can’t install any software are all - such as at work, but where I might still need a JPG. ↩︎